
How to make fabric pumpkins
Recently I had a great morning learning how to make fabric pumpkins. My very talented friend agreed to write a post for me! So here it is!
Materials needed
Fabric – fat quarter or larger
Felt for the stalk
Die cut felt leaves (ours were from www.lilacsprig.etsy.com)
Polyester Stuffing
Quilting cotton or any other strong thread
Embroidery silks to compliment or contrast your fabric choices depending on preference
Long tapestry or doll making needle
Equipment – ideal but not essential
Sewing machine
Rotary cutter
Cutting board and rulers
Step 1
Cut the fabric. A rectangular shape is needed for the pumpkins, that needs to be twice as wide as it is high e.g. 11 x 22 inches, 8 x 10 inches. If using a fat quarter the biggest you are likely to be able to cut is 9 x 18 inches. This pattern works best if the fabric is cut on the bias, to allow a little stretch around the middle of the pumpkin. Youtube has videos about this if you are unsure.

Step 2
Fold fabric right sides together in to a square and seam the open edge as show in the photo. Seam allowance is not critical, I have used the width of my sewing machine foot or ease. If you don’t have a machine, hand stitch with a small running stitch.
Step 3
Using quilting cotton hand sew a large running stich on one edge, about 1 inch in from the edge of the fabric. Leave a large tail at the beginning of your sewing, so that when you have got all the way around you can pull both ends of the thread together to pull the fabric up together. Tie as tightly as you can and wrap the cotton around the gathers lots of times to give strength, as it will be holding the stuffing in.
Step 4
Turn pumpkin right side out and stuff to approximately 2/3 full. Make sure to press the stuffing in to the bottom and edge to make a round pumpkin shape.

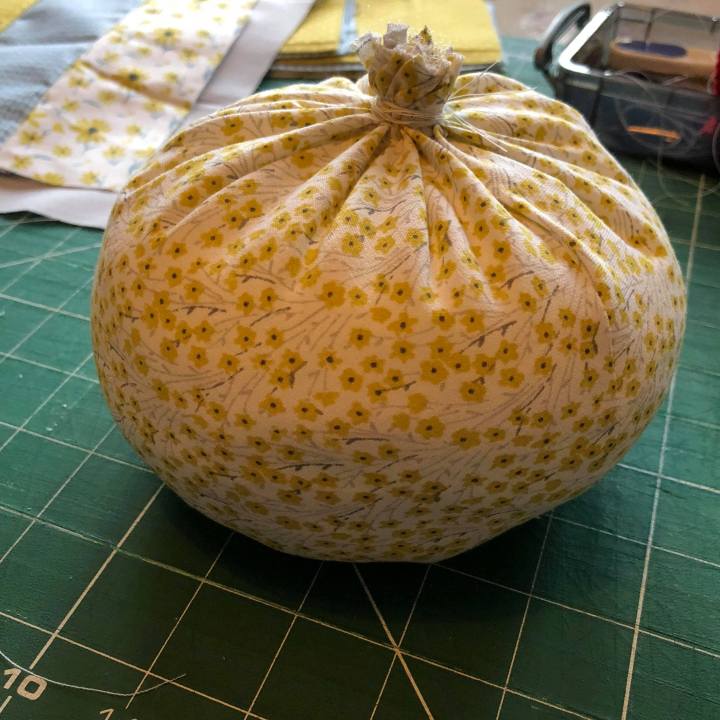
Step 5
With quiliting cotton, hand sew another seam about 1 inch from the edge as before. Pull the threads together, tie and wrap around as before.
Step 6
Thread a long section of embroidery silk though the doll making/tapestry needle and knot the end. Begin near the stalk of the pumpkin and pass the needle straight though the depth of the pumpkin. Bring the thread around the outside of the pumpkin and down though the centre again. Repeat as desired to give the pumpkin its distinctive shape.

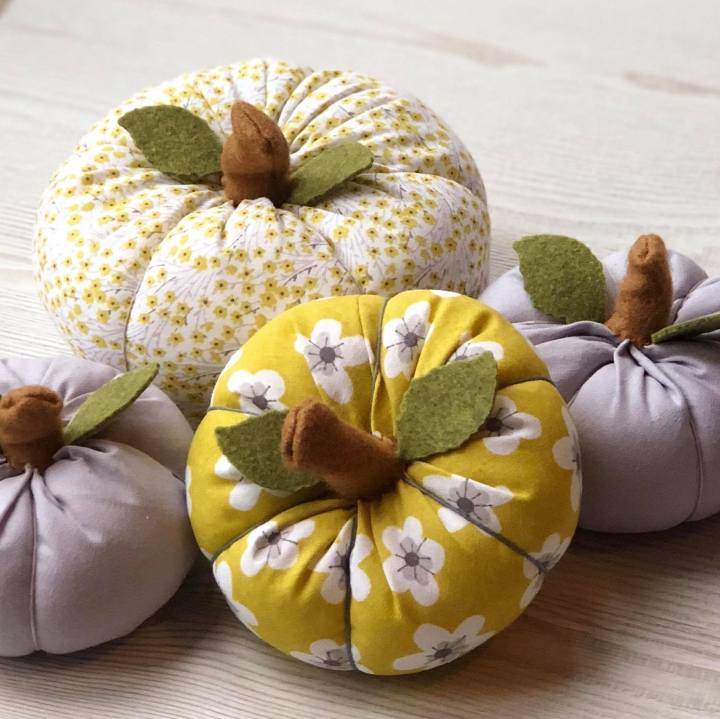
Step 7
Sew die cut leaves by their stems on close to the stalk.

Step 8
Cut stalk from felt, approximately 2 x 2 inches. Fold and sew (machine is best) before turning right side out. Place stalk over gathered fabric, and secure with stitches in a complimentary shade of thread or embroidery silks.

To buy ready-made pumpkins visit my shop www.etsy.com/uk/shop/anniethornalley
Follow me on Instagram www.instagram.com/zoemayson_crafthappy
Go and check her out!
Thanks for reading! Happy Crafting! 😉

Wow, this is so cool.
Beautifully done 👍🏻😍
LikeLiked by 1 person
Thank you!
LikeLiked by 1 person
You are welcome 😍
LikeLike
I am definitely going to try this! They look fantastic!
LikeLiked by 1 person
I love them! I look forward to getting them out every year!
LikeLike