
With October being Black History month, the kids have been learning about prominent people in history at school. Freckled Face number 2 has been learning about the person who invented the traffic lights; Garret Morgan. In 1923 he improved the old traffic lights, which just had ‘stop’ and ‘go’, and invented the 3-Way Traffic Lights that we have today.
We (Freckled Face number 2 and I) thought we would have a go at making some traffic lights. We came up with a plan…but came across a few problems along the way! Haha it was good though. We worked together, but she made the final calls as it was her project!
WHAT YOU WILL NEED
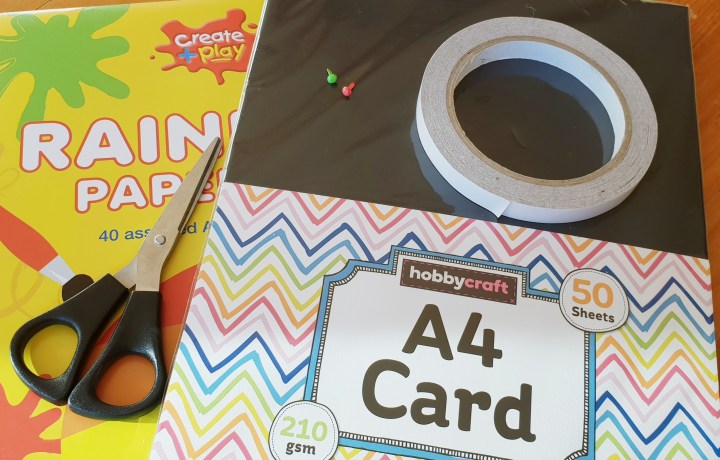
- 3 or 4 pieces of black card
- Red paper
- Orange paper
- Green paper
- Pencil
- Scissors or Stanley Knife
- Double sided tape
- 2 small split pins
(You might want a stencil for the circle too? We just used the roll of tape!)
WHAT TO DO
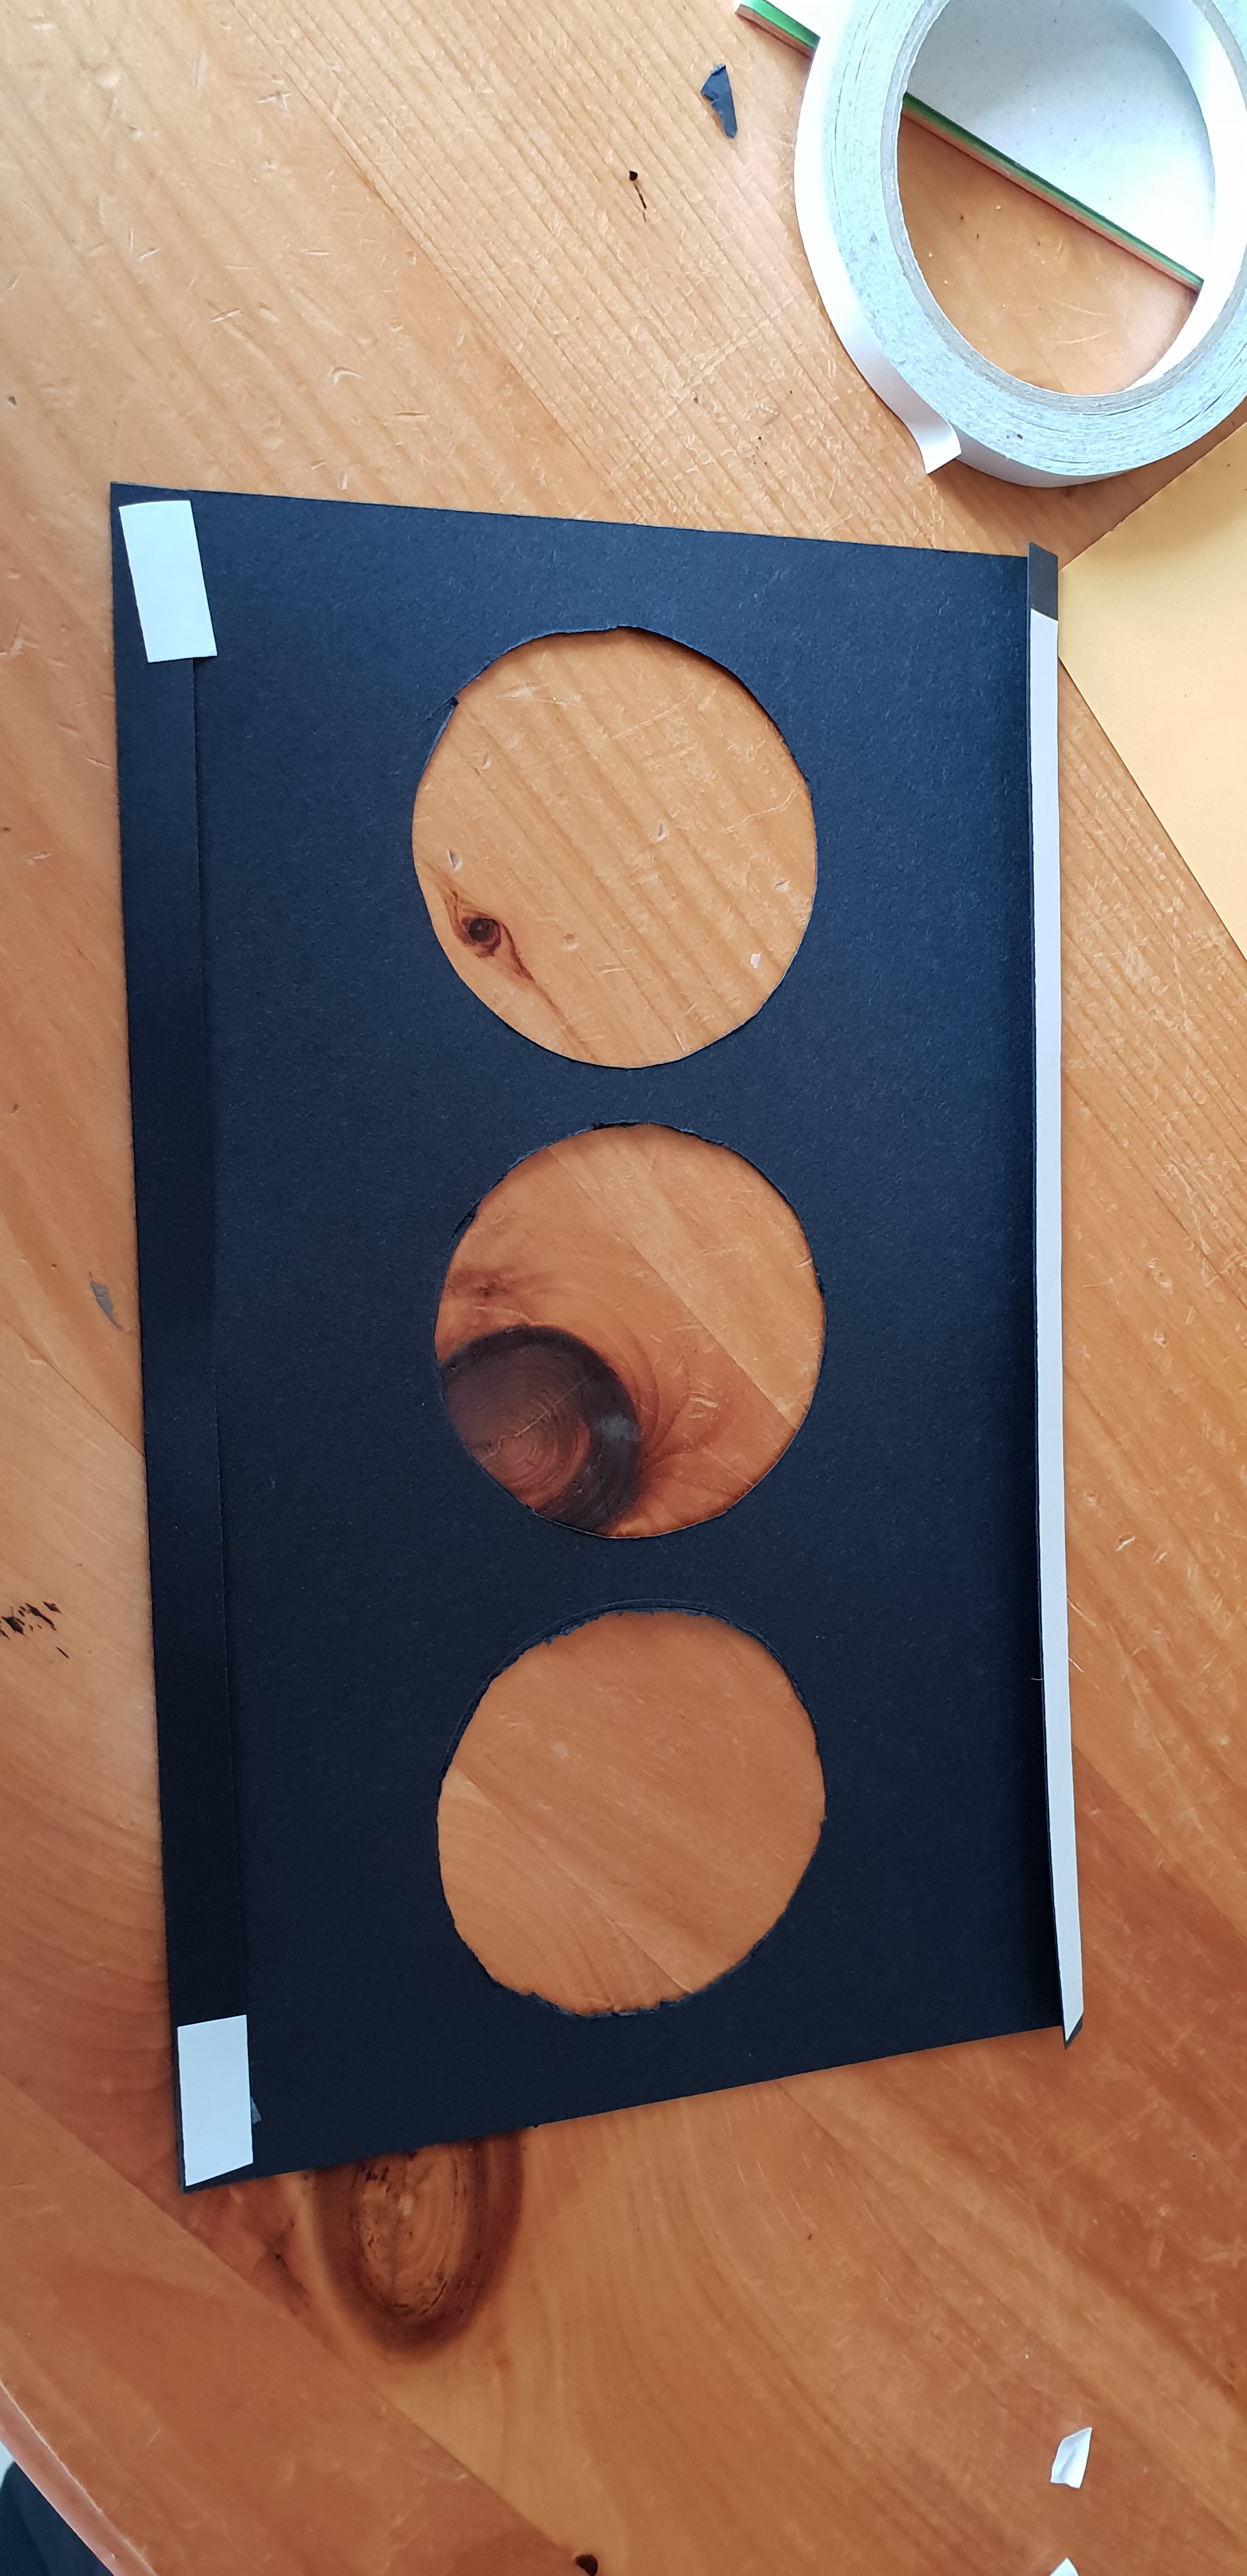
On one sheet of black card draw 3 circles in a vertical line, leaving a small gap inbetween each one.
Cut out the circles. Then fold just under an inch underneath on each side.
Use that piece of card (with the 3 holes in it) as a stencil on another piece of black card. Lay it on top of the card use the holes as a stencil and draw them on the other card. DO NOT CUT! These are going to be your base/back and top/front of the your traffic lights.

You now need to cut out circles from your red, orange and green paper. We made ours slightly bigger than the circles we cut out of the black card.
Get your black card that you drew the circles on and stick your coloured circles on the circle stencils you drew. (Too many ‘circles’ ?? Haha) make sure you stick them in the right order!
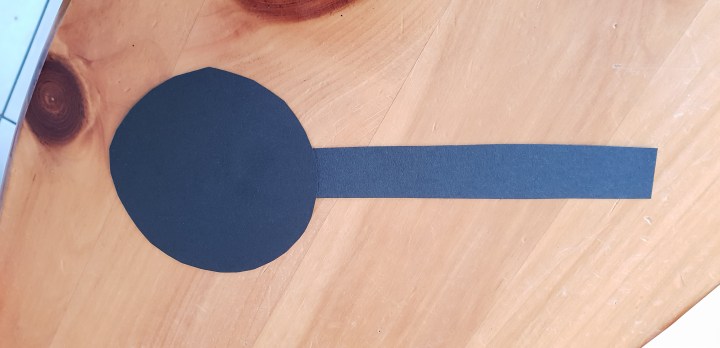
Get another black piece of card and cut 2 strips width wise. We made ours about an inch thick.
With the rest of the black card, you need to cut out 2 more circles that are slightly bigger (about an inch bigger) than the circles you cut out before.
Stick one strip on to the bigger circles and repeat with the others.
Before making any holes, line it all up and make sure you place everything in the right place so it works!
The bigger circles with the strips stuck on them need to be placed either side of the middle circle. Hold them in place and test them before poking the split pins through. Remember to leave a little bit of a handle so that you can move the circle bits to cover up the circle you want to. Once you’re happy with it, poke the split pins through and secure them.

When you are happy with everything being where it should, stick the front of the traffic lights on – remember to not stick all of the side that will be going over the strips. Look at the picture below.
And voila! Job done, tick! You have functioning traffic lights!


👏🏻👏🏻👏🏻👏🏻👏🏻
LikeLiked by 1 person
I’m not sure it actually made sense!? Haha I hope it does!
LikeLiked by 1 person
You done a great job😍
LikeLiked by 1 person
Thank you!
LikeLiked by 1 person
Welcome dear
LikeLiked by 1 person
Oh wow this is absolutely amazing. I’ve definitely learnt some history reading this too. Never knew traffic lights were invented that long ago or by who xx
LikeLiked by 1 person
Ah glad we could share our knowledge we learnt with you! 😊
LikeLiked by 1 person